Showing posts with label copper. Show all posts

Friday, 14 February 2014

Cassie's Celtic Forest Book

 photo cassieblog1-2_zps8d269a2e.jpg

Happy Valentine’s Day all! I haven’t been around much this week due to pesky hospital follow up appointments etc, but I have finished a little project for a dear friend that I wanted to share here
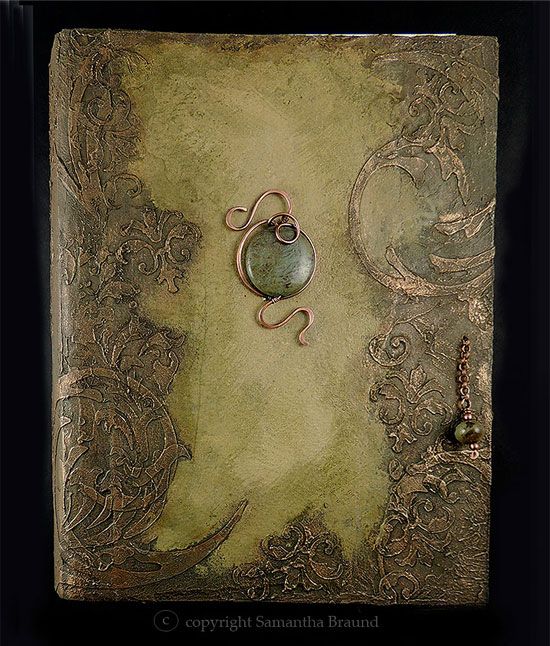
 photo cassieblog1-3_zps8f99e97c.jpg

My friend Cassie loved the grungy effect on Pete’s box book thing (technical term) and has been hinting heavily to get me to make her something similar. She is a bit of an amateur chef and collects recipes from everywhere, so I decided to try out an idea for an organiser notebook on her, as a gift.

She wanted something “earthy” and “Tolkien-esque” Blimey! Not an easy request lol…. Anyway, I finished it today and will present it to her later as a sort of Valentine’s Day pressie. I saw a couple of You Tube videos on mini book album making and combined a couple of them to come up with this design. It has a signature of good quality plain paper, either end, with 2 pages in the middle with pockets galore to store her recipes in, adorned in pretty patterned paper. The plain paper can be written or even painted on
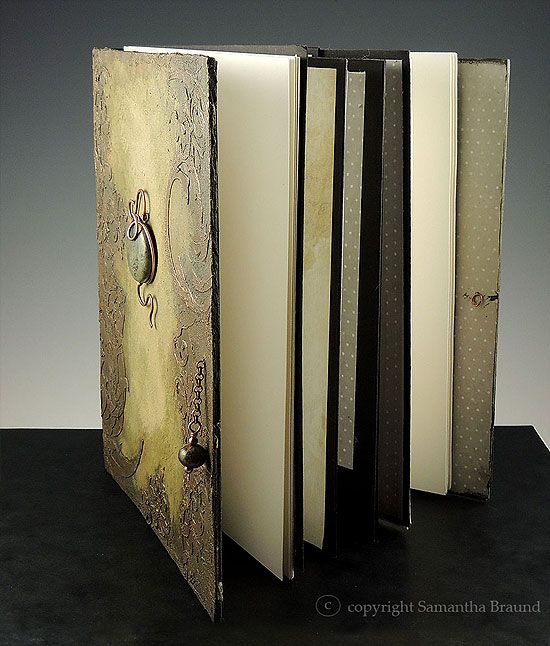
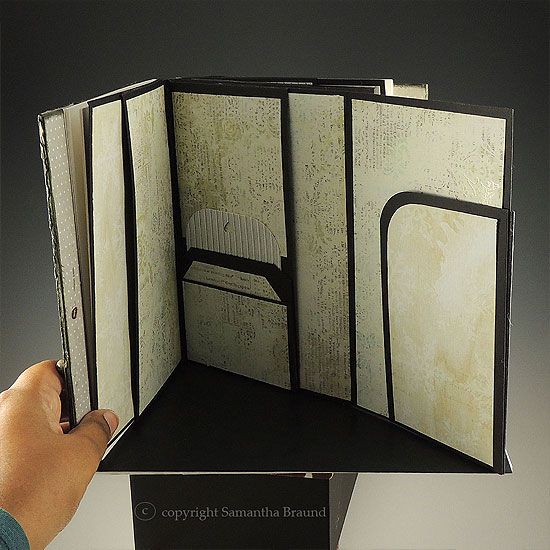
 photo cassieblog1-1_zpsa160b47e.jpg

 photo cassieblog1_zpscc5035b0.jpg

  There are many niggles to iron out with the design, like making the spine a shorter width and curving it more gently before strengthening it. There is an obvious kink, which bugs me. I have diligently written down my process, which is so unlike me, but I am determined to do it again and improve upon it! I think I’ll also watercolour paint my plain paper first before binding, it needs some subtle background colour

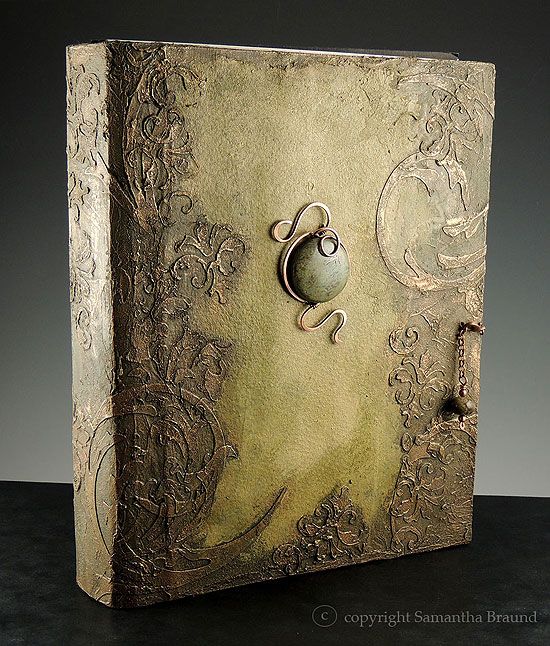
  The front cover, has lots of texture, created with die cut shapes and stencilled modelling paste (my new favourite thing to do). Then the whole piece has been painted in acrylic paints, with additional touches of metallic, courtesy of Decoart Metallic Lustre - "Iced Espresso". The focal is a copper wirewrapped Snakeskin Jasper gemstone that compliments the earthy tones I think. I was going for a forest, Celtic kind of look, but grungy! Well, I hope she likes it - she better lol, “Tolkien-esque” indeed!

I entered this piece into the following challenges:
Country View Challenge #12 Painty Pleasures

Anyway, thanks for stopping by :)



Samantha Braund


Friday, 17 January 2014

Jade Gothic Book

 photo jade-gothic-blog3_zps0a3c069b.jpg

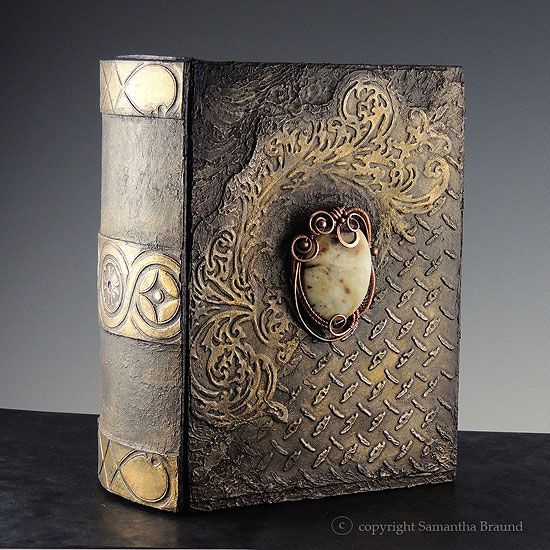
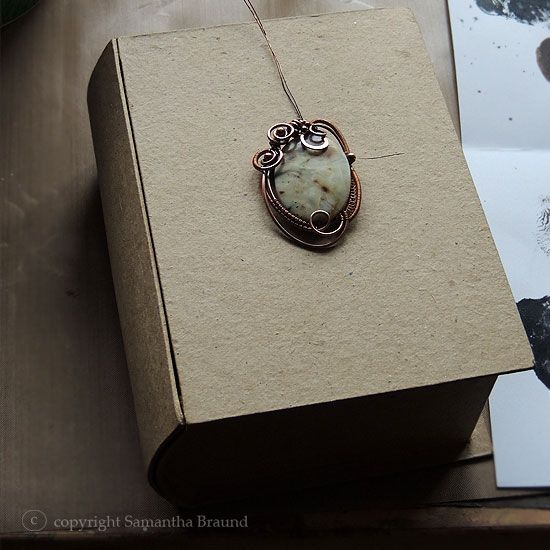
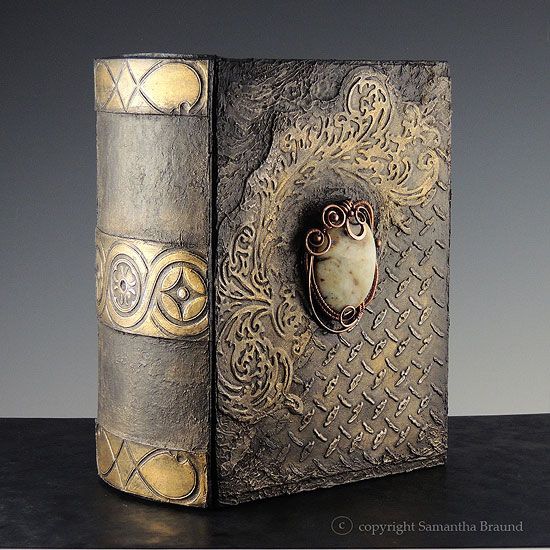
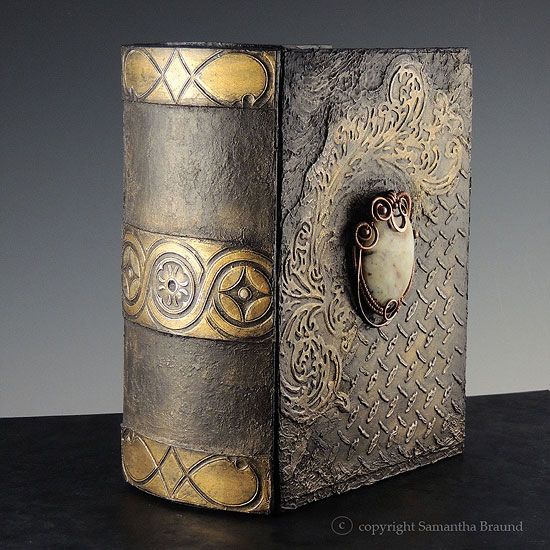
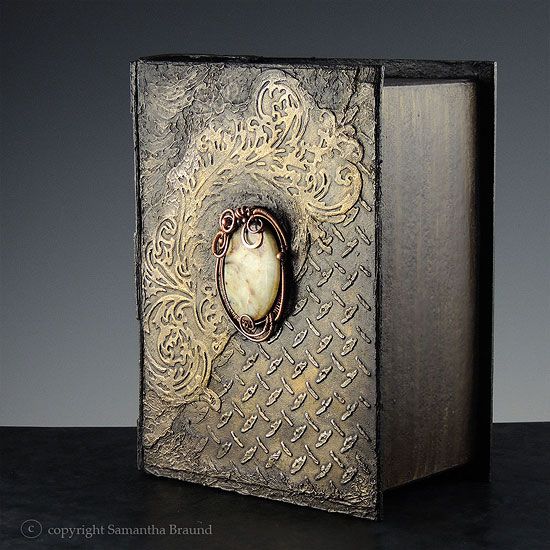
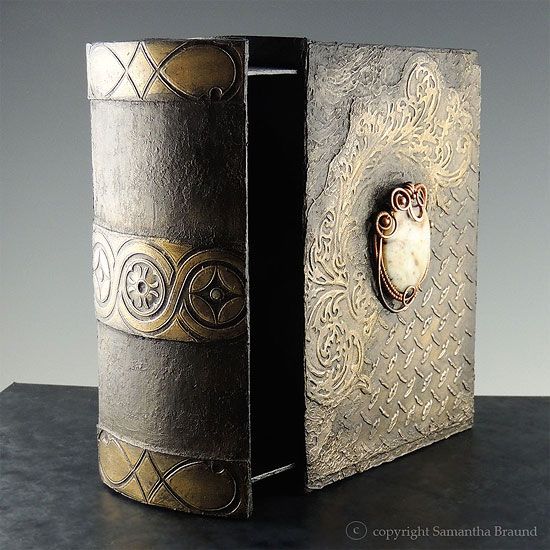
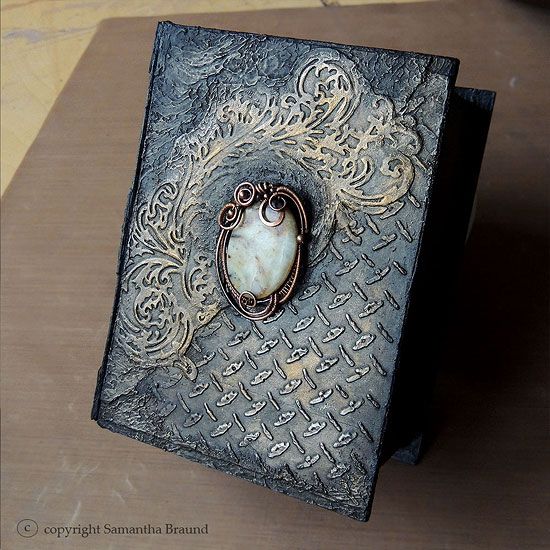
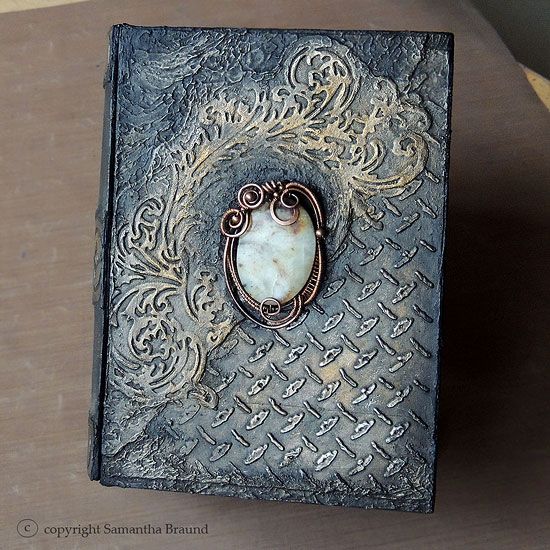
I had to share this new book I’ve altered for the hubby this week. He always complains that he can’t wear any of my jewellery as they’re too feminine for him lol. He particularly likes my wirewrapped art nouveau freestyle pieces – so as surprise I altered a papier mache “book drawer” and adorned it with a copper wire sculpted piece containing a variegated Serpentine Jade gemstone

 photo jade-gothic-blog8_zpsbd417ba9.jpg

It was a project of many firsts for me tbh. I had never used the papier mache before, it is incredibly sturdy, surprisingly so, and can take acrylic media well, but the drawer doesn’t pull in and out as smoothly as it did before I altered it. I didn’t seal it first though and did go straight in with the paint, so maybe it got a bit swollen? I don’t know, I’ll have to get a new one and experiment...

I’ve also had this jar of Decoart Modelling paste for about 6 months and had not dared use it before…I LOVE IT!! It’s so light and easy to manipulate around the piece. I smoothed the paste over cardstock containing an embossed Flourish (Tim Holtz Sizzix) . Another first for me was combining my wire sculpted work with my mixed media work…I think I will have to try more of these lol!

 photo jade-gothic-blog4_zps5c6d4d86.jpg

 photo jade-gothic-blog5_zps66e78bfb.jpg

 photo jade-gothic-blog6_zpsa9929833.jpg

 photo jade-gothic-blog7_zps328f9ab7.jpg

The rest of the book is embellished with aluminium foil pieces. I have been experimenting with inexpensive aluminium foil and various paint effects to develop a cool distressed effect. The cover has an industrial metal design, which gives it a masculine edge, and the spine reminds me of those ancient medieval books that I love. Overall, the gemstone, flourish and industrial metal elements are meant to evoke a Victorian Steampunky feel.

I just can’t wait for him to come home and see it, and hopefully he’ll find the drawer handy as a desk tidy (that desk really needs tidying!). I hope you love the photos, I noticed that the ones taken in daylight really look blueish compared to the ones taken inside my photo tent…so I included both lots for contrast.

 photo jade-gothic-blog2_zps5088b3da.jpg

 photo jade-gothic-blog1_zpsfae6a732.jpg

I will be posting these in the following contests
Simon Says ...Emboss It (Simon Wednesday Blog Challenge)  - embossed Sizzix Flourish
Our Creative Corner Blog - No More Shopping Sins Challenge - Papier Mache Book Drawer, Decoart Modelling Paste and even the Serpentine Jade gemstone which I've had since 2010!!
Ali Craft Blog - Anything Goes Challenge


Samantha Braund


Friday, 10 January 2014

Etching and Plaster Alchemy...

 photo blogalchemy1_zpsc578bb1a.jpg

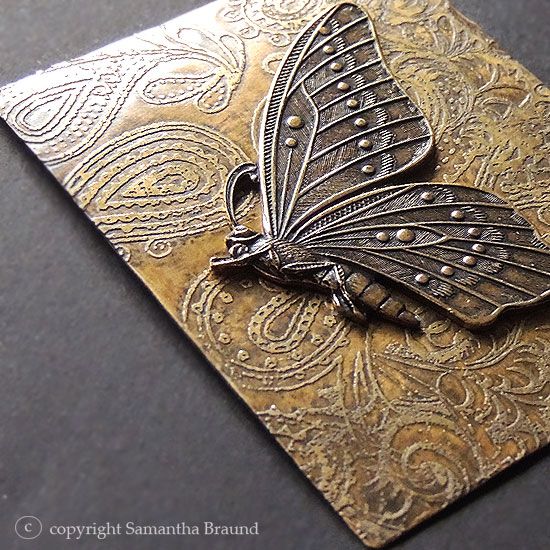
I'm ever so excited about my latest mixed media experimental work. I have finally made a start on Copper and Brass etching, which has been amazing fun!

I have also come up with a way of turning plaster into antiqued gold lol! Yes, I have achieved alchemy...Ok, not really, but I have achieved some really cool results

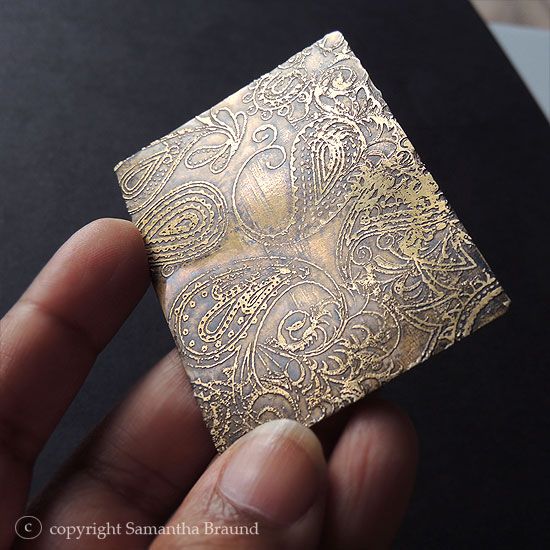
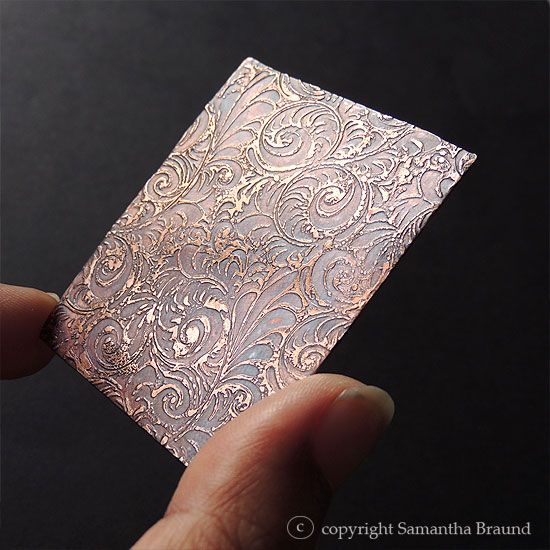
These are my first attempts at etching. I used Copper and Brass sheeting, and Ferric Chloride, using archival ink as a resist. The results are beautiful aren't they...I cannot wait to include them in my books or mixed media artwork.

 photo blogalchemy2_zpsfe857cfe.jpg
Etched Brass Sheeting with Paisely design

 photo blogalchemy3_zpsa87a2cc0.jpg
Etched Copper Sheet with Flourishes

The experiments with plaster came about through sheer "miserly-ness". I have no idea how everyone affords buying in metal components for each and every project they work on?

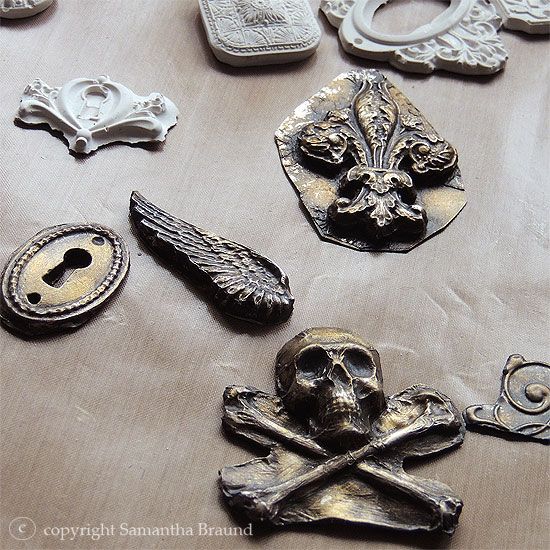
 I had purchased steampunk brass stampings and Tim Holtz metal embellishments and dreaded them running out after use...so I thought I'd make moulds of them in silicone and attempt to cast them in plaster. I do use a plaster formulation that is slightly stronger than plaster of paris, as I find plaster of paris can be quite crumbly and not strong enough for the next stage of the process

The castings turned out really well as you can see...
 photo blogalchemy7_zpsba7b3710.jpg

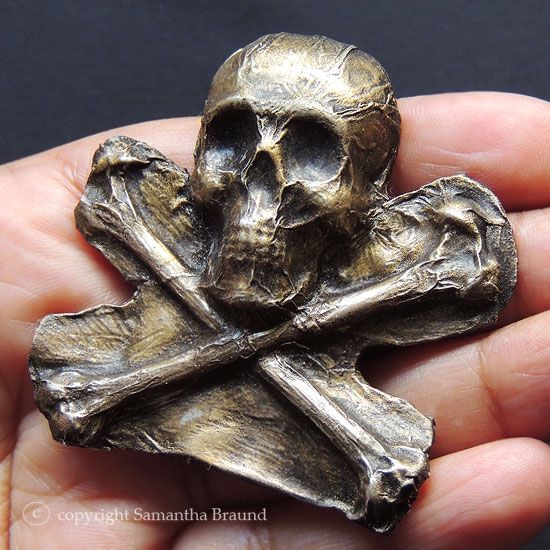
The next stage involved using an inexpensive alunimium metal foil to cover the plaster forms. I then burnished the foil into all the nooks and crannies to highlight as much of the detail as possible. Then using acrylic paint I set about distressing the foil to appear like antiqued gold! 

This is the skull and cross bones version I did, all ready to adorn a new pirate book or treasure chest!
 photo blogalchemy6_zpsdac6d535.jpg


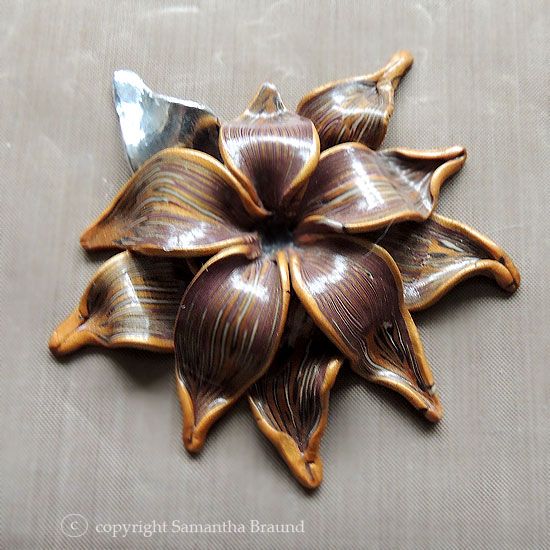
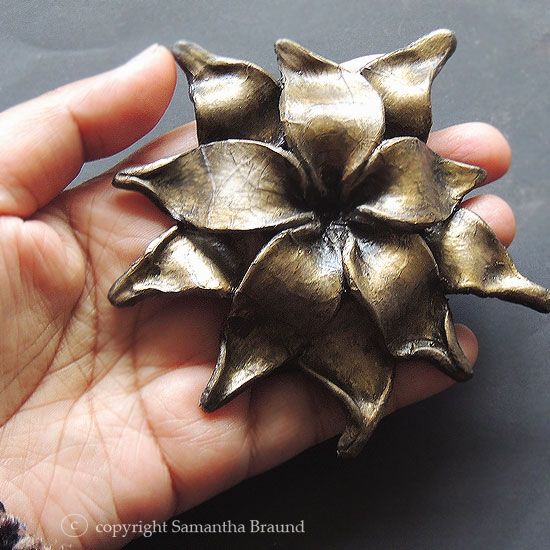
I even attempted to alter a very shiny polymer flower I had made in 2009. I used the same techniques as above and transformed it into an antiqued gilded floral ornament ready for use!!
 photo blogalchemy5_zps0e976c8d.jpg

 photo blogalchemy4_zpsb111a024.jpg

All in all, I enjoyed playing with all my metals , both faux and real !! Hope you like the pics :)


Samantha Braund


Related Posts Plugin for WordPress, Blogger...