Showing posts with label altered art. Show all posts

Tuesday, 17 February 2015

Nieces Flowerpots


I made so many paper roses for Valentines (see last post) that I decided to make a couple of Spring time flower pots for my nieces, and a bouquet for my sister. I used the 80 gsm coloured copy paper to make the roses. The thinner the paper the more lovely swirls and spirals you get to create your rose...I'll probably post a quick mini tutorial on how I made the roses soon


I drew out a flower pot shape on a piece of paper and used it as a template to cut the pots out of thicker cardstock. I then sponged a mix of brown, black and yellow acrylic paint to create a mottled shabby flower pot
 
I had recently purchased a pretty lace border punch, which I used to create an embellishment for the pots


I used my Tim Holtz Sizzix Decorative strip dies, that contained leaves and greenery, and left the dies in place, while I sponged a random mix of greens, blue, yellow and white all over the strips. This was one of my favourite steps lol, very messy. Once dry, I pulled apart the die leaving a pleasing mass of variegated green foliage to use


I made a sturdy base card , painted and stamped the surface, then set about laying down the foliage into a pleasing composition. Then the pots went on next, and then the roses - I used tacky glue and permanent tape to secure everything. The base is such that it can fold down flat, making it easier for me to post, then, it will open up into a triangular easel. Matting with patterned paper strengthened the supporting structure
 
Then the cards were taken into the back garden and photographed lol... very fitting scenery for them I thought, anyway, I hope you like them (and fingers crossed, so will my nieces)

Thanks for looking ...



Samantha Braund


Saturday, 3 January 2015

Mixed Media Soft Bound Book Experiments

 photo mmbookcovercrops_zps03436e51.jpg

Happy New Year 2015! (Image heavy post by the way....)

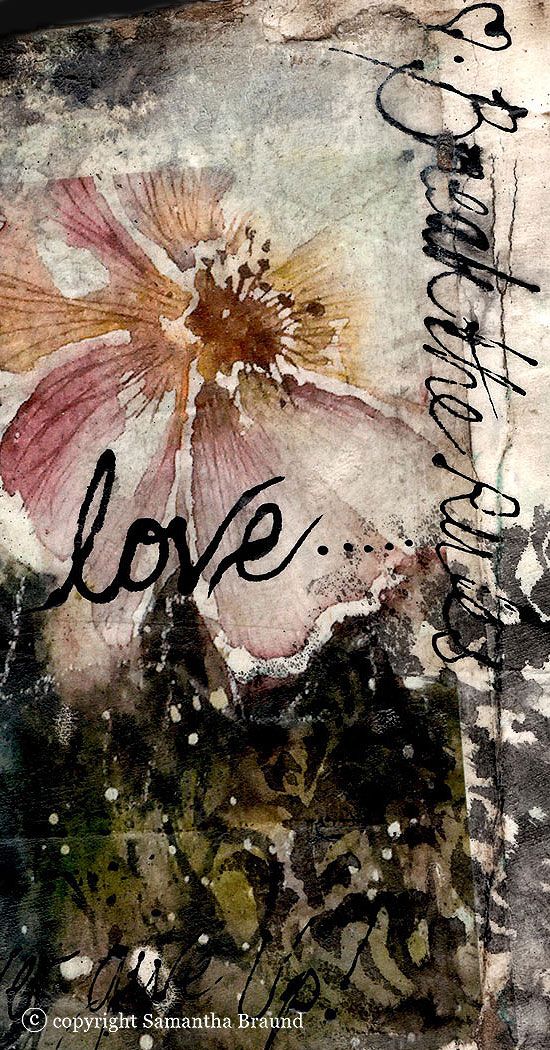
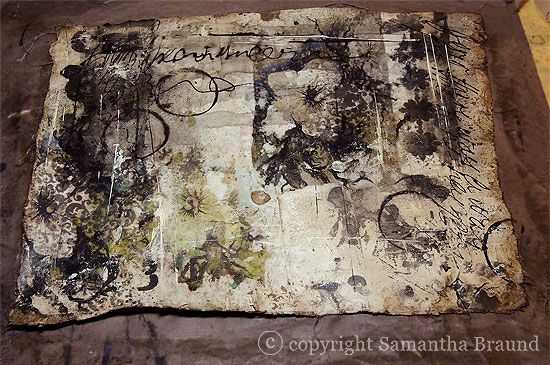
I am still rehabbing my shoulder, which still means no jewellery making for the time being, so I have had to be creative about being creative lol. I have been really getting into my painting as you may recall from my last couple of posts, and really felt a strong urge to transfigure my 2D art form into a 3D artform. I loved the idea of book covers incorporating my work in a grungy style and did some research and found a lot of interesting ideas (on Pinterest of course) and online courses about how to proceed

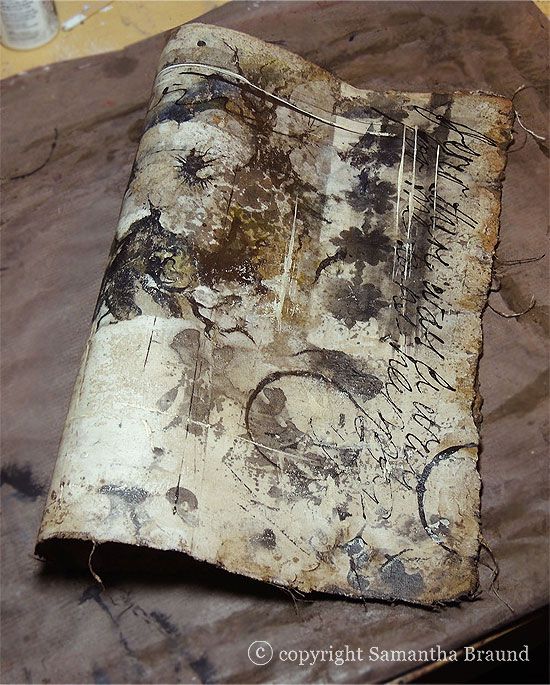
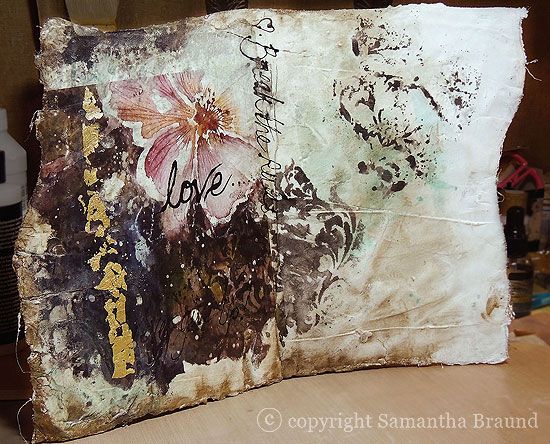
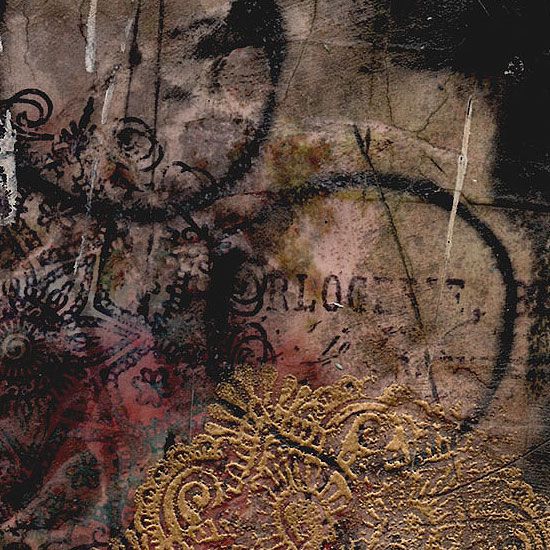
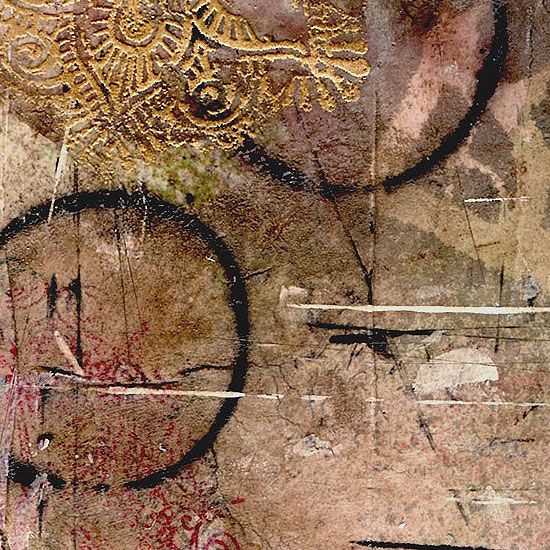
I am still in an experimental phase, especially with regard to getting decent image transfers of my work onto irregular fabric like surfaces, but it is looking promising overall. The books will be soft bound eventually, and the covers have a wonderful, flexible, leather like feel to them (see the image below). The edges are satisfyingly grungy and it reeks of old world charm, like undiscovered pirate maps found on a shipwreck !

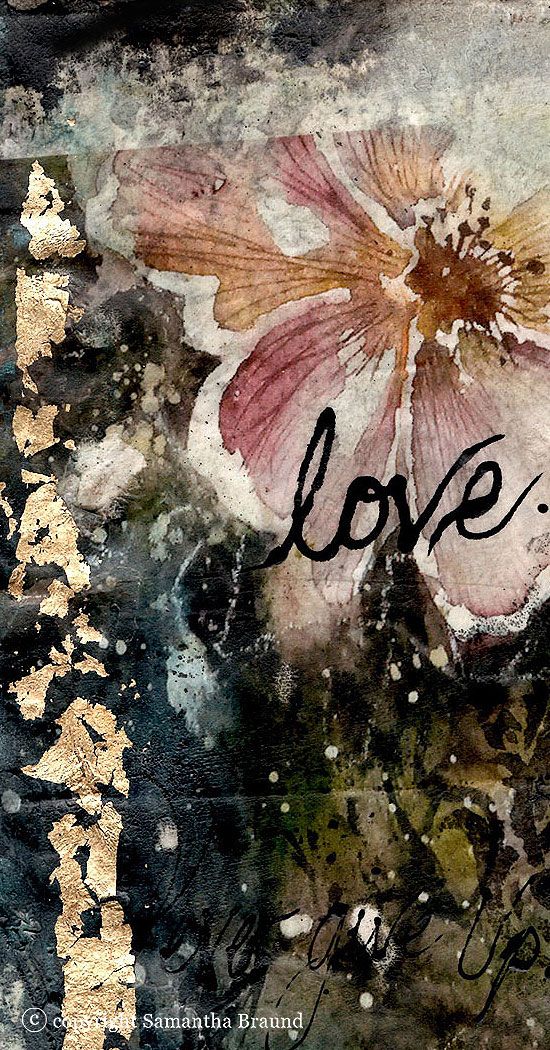
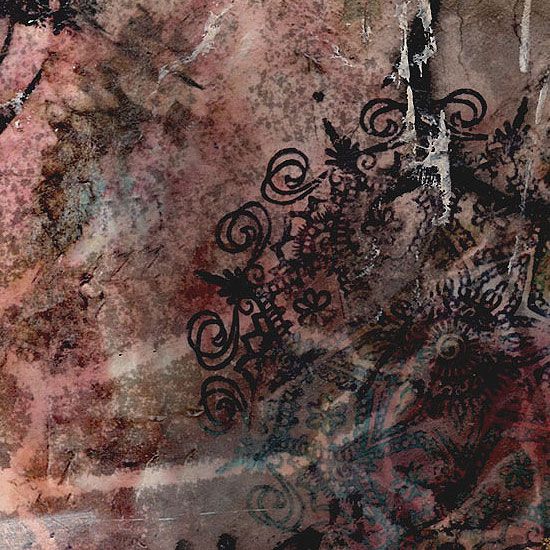
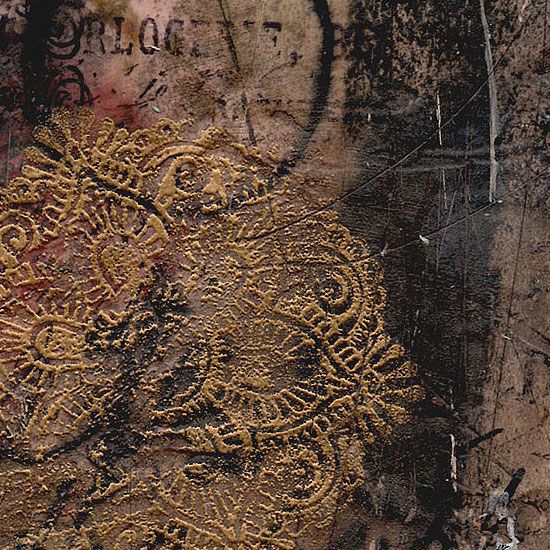
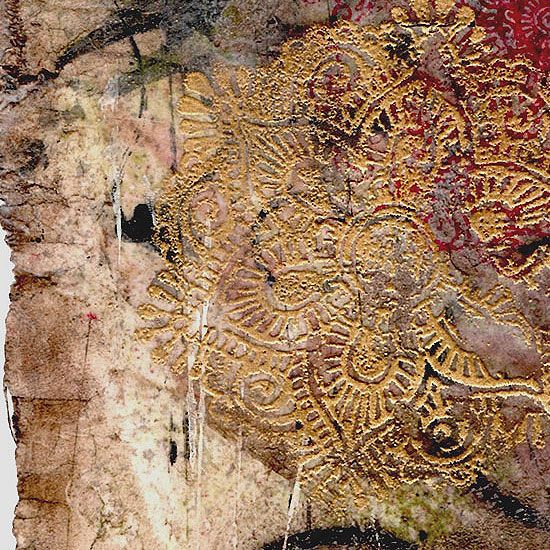
My first attempt went "wrong", my image transfers didn't work and left strange marks on the surface and I went overboard trying to correct the composition, but I found that I can get very satisfying cropped images (see the end of the post) which I can use as transfers themselves or incorporate them into other work...nothing is ever wrong really in expressive work - that's the moral for me at least lol)

Anyway it has been a wonderful start to the year, and I hope my health improves further too, so that I can become my normal studio obsessed self  again lol. I hope to create some wonderful books and paintings for an arts shop , so this is a nice first step . I have embedded a slideshow video of the experiments so far

 photo mmbookcov1_zps7d72603a.jpg


 photo mmbookcovercrops1_zpsa4090076.jpg


 photo mmbookco6_zps955c5510.jpg


 photo mmbookco7_zps382e8a22.jpg


 photo mmbookco1_zps03a16e9d.jpg


 photo mmbookco3_zps54762e24.jpg


 photo mmbookco5_zps63cce81f.jpg


 photo mmbookco2_zps49b07854.jpg


 photo mmbookco4_zps0c4e6f5b.jpg


Mixed Media Book Cover Experiments

Sunday, 16 March 2014

Mini Treasure Chest

 photo trunkblog1_zps04cdf879.jpg

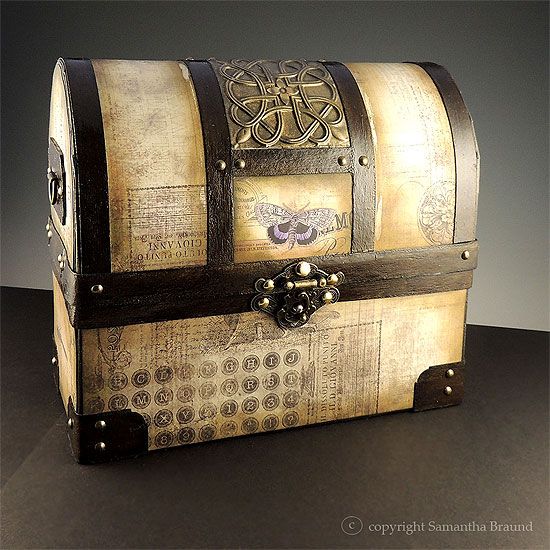
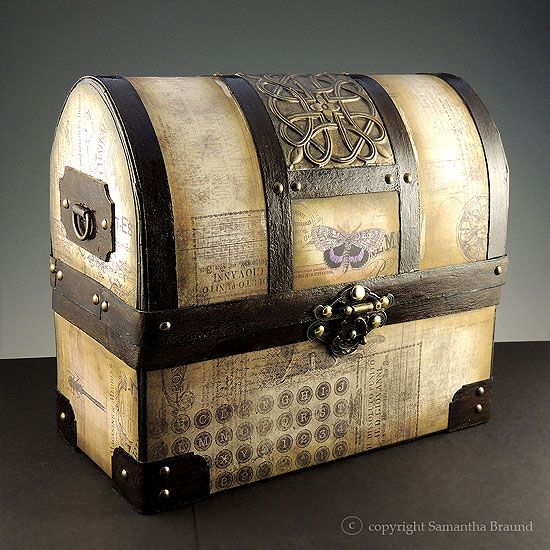
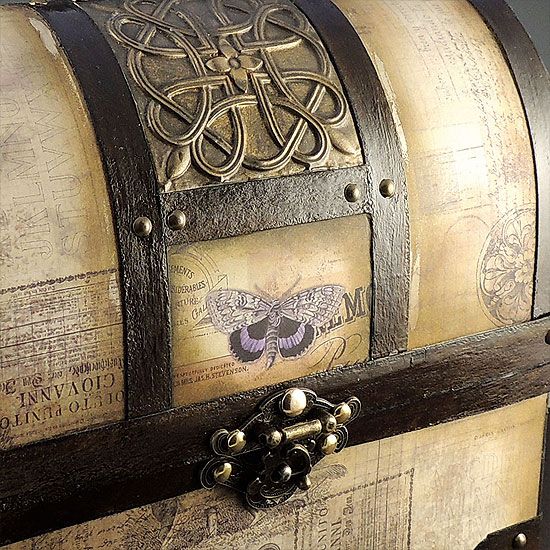
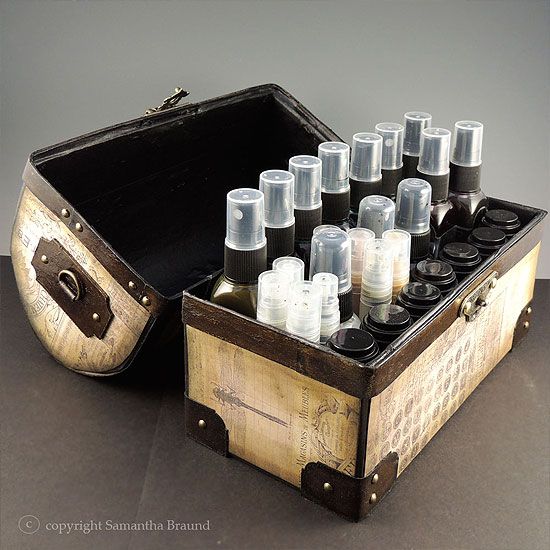
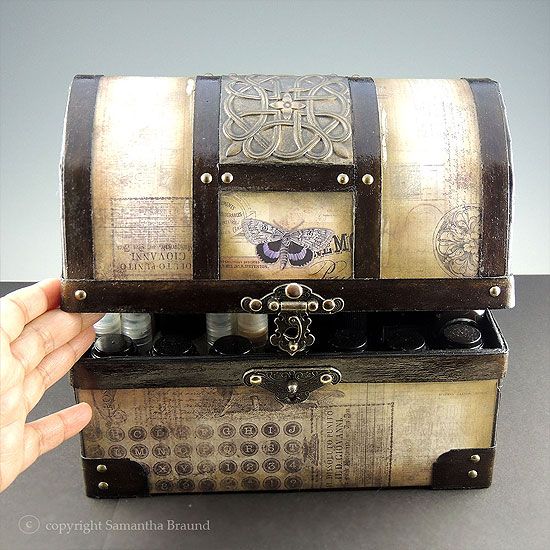
I have been having more fun in the studio as you can see. If you follow any of my work you'll be aware of my love of the fantasy world occupied by Mermaids and Pirates - so when it came to making some storage for my growing mass of mini misters and sprays, I had to make a Pirates Treasure Chest!

I started with a few sheets of chipboard and constructed the chest, then took my time decorating the exterior with patterned paper, brads, and other metal hardware. The focal metallic embellishment is made from embossed foil, and treated with a variety of acrylic paints to get that antiqued gold look. I experimented on creating that effect earlier this year as described in this post . I am so happy with the chest ... and it's for me lol, not for my hubby or a friend, no, I get to keep this one all to myself

The next time I make one I think I will go a little bit more adventurous with the finish, maybe include some of my polymer sculptural work as I did on the Seashore Chocolate Box. I think a barnacle and marine life encrusted treasure chest would look so cool! Well, just the idea of it has got me excited ... anyway I hope you like this Mini Treasure Chest of mine :)

 photo trunkblog2_zps44adad51.jpg

 photo trunkblog4_zps12fce63f.jpg

 photo trunkblog5_zps830084da.jpg

 photo trunkblog6_zps2041cc55.jpg


Thanks for stopping by


Samantha Braund
Related Posts Plugin for WordPress, Blogger...